Roof Flashing: What It Is, Why It Fails, and When to Fix It
June 29, 2026
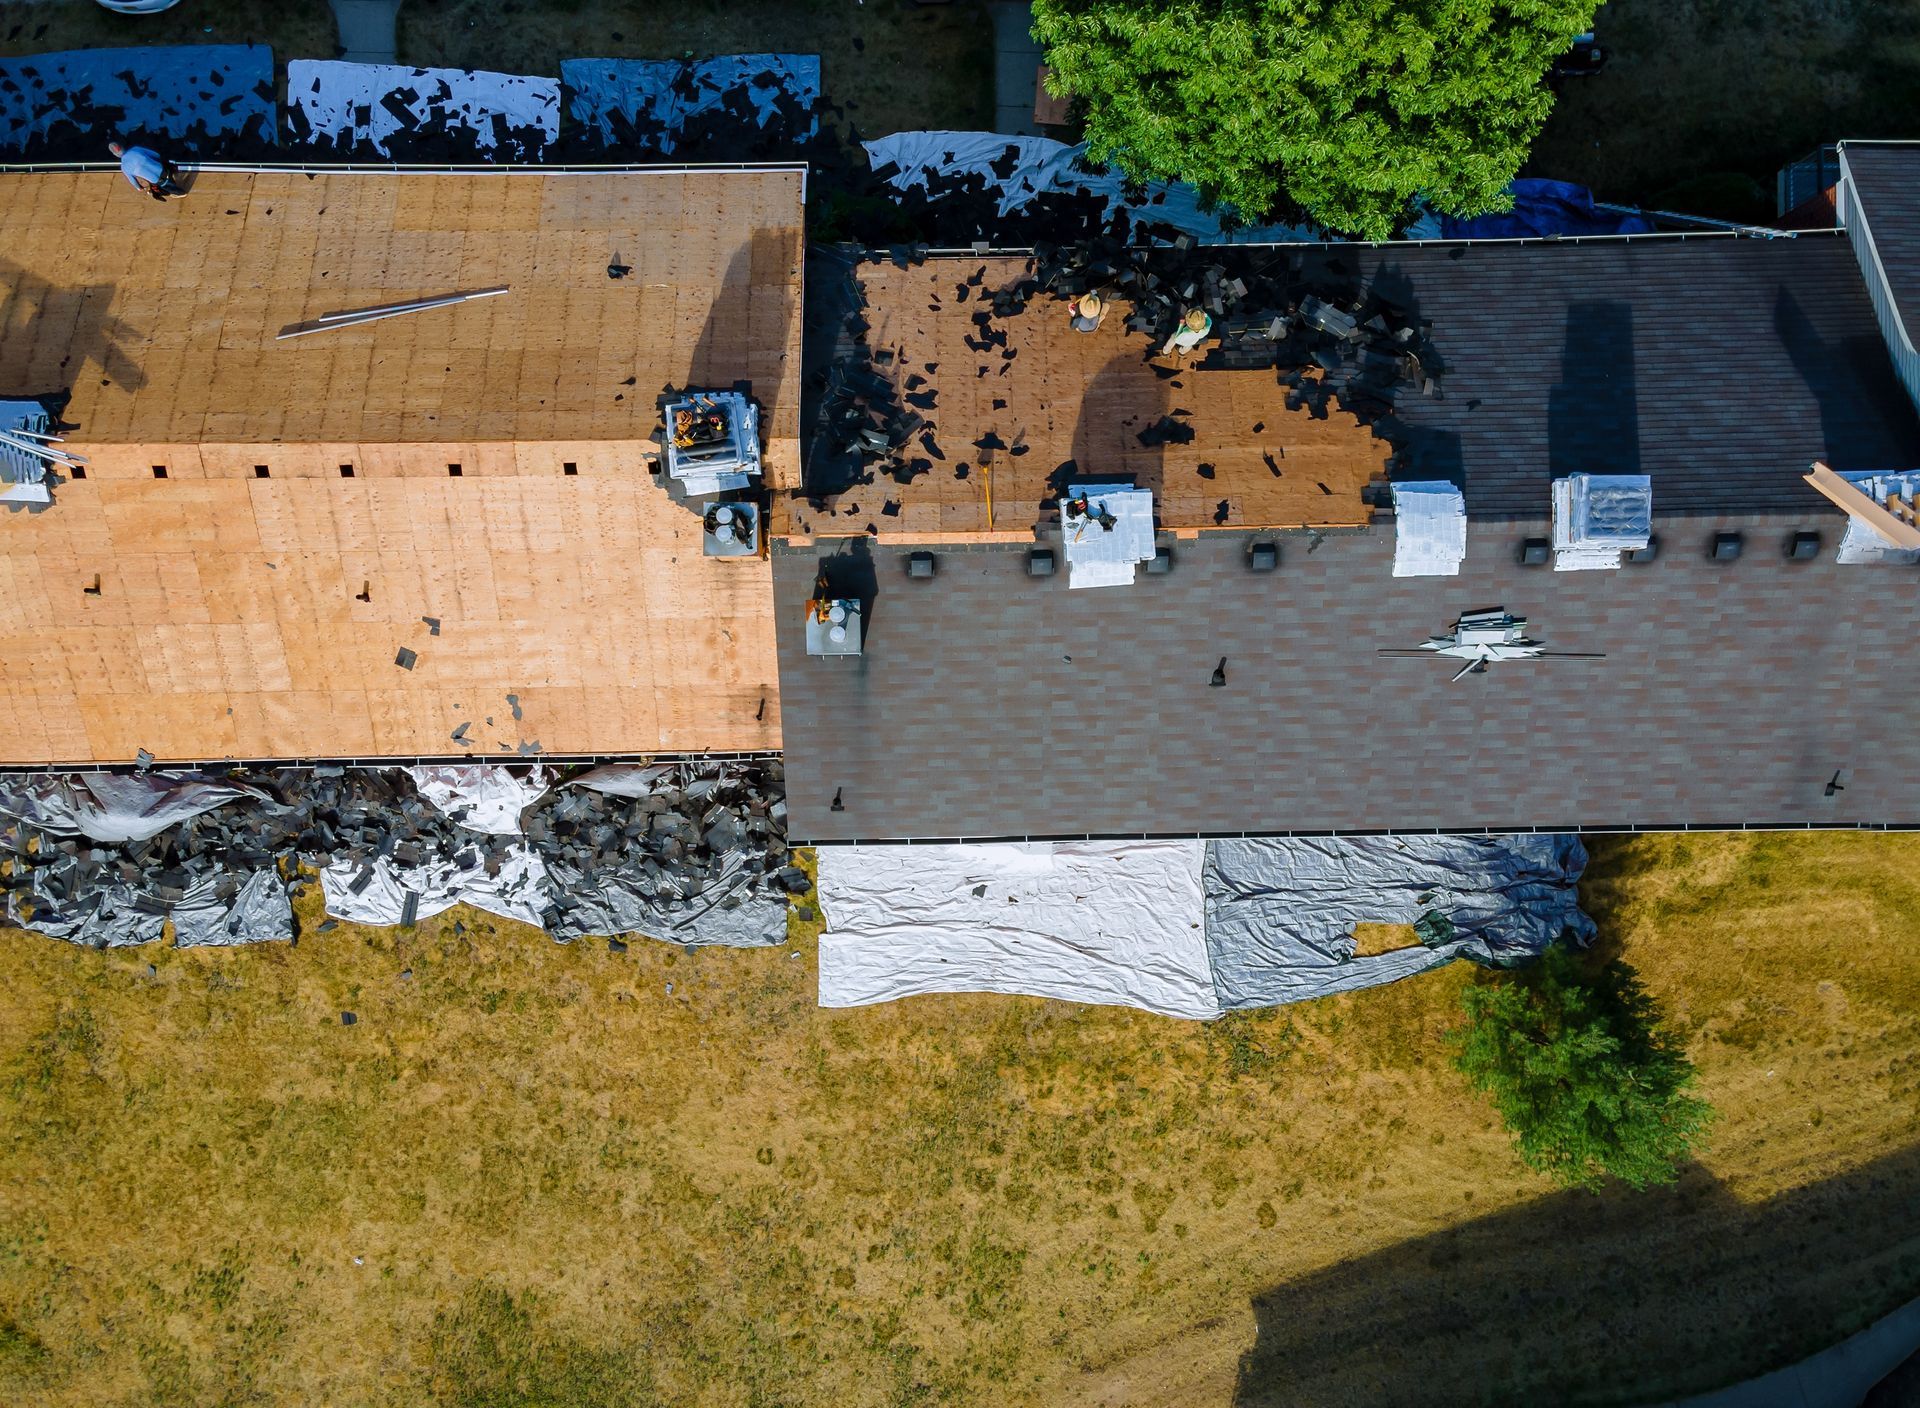
Roof flashing is the thin metal seal that wraps around chimneys, skylights, vents, valleys, and any place where your roof meets a wall or opening. It is one of the smallest parts of your roof and one of the most common reasons CT homes get leaks. If flashing fails, water gets in even when the shingles look fine.
Most CT leaks we trace back through homes start at the flashing, not the shingles themselves. The same failure patterns keep coming up: cracked sealant, lifted metal at chimneys, rusted seams in valleys, and pipe boots that split after a few hard winters. Below is what flashing does, why it fails in CT weather, the warning signs, and when repair will fix it versus when full replacement is the smarter call.
In This Guide
What Is Roof Flashing
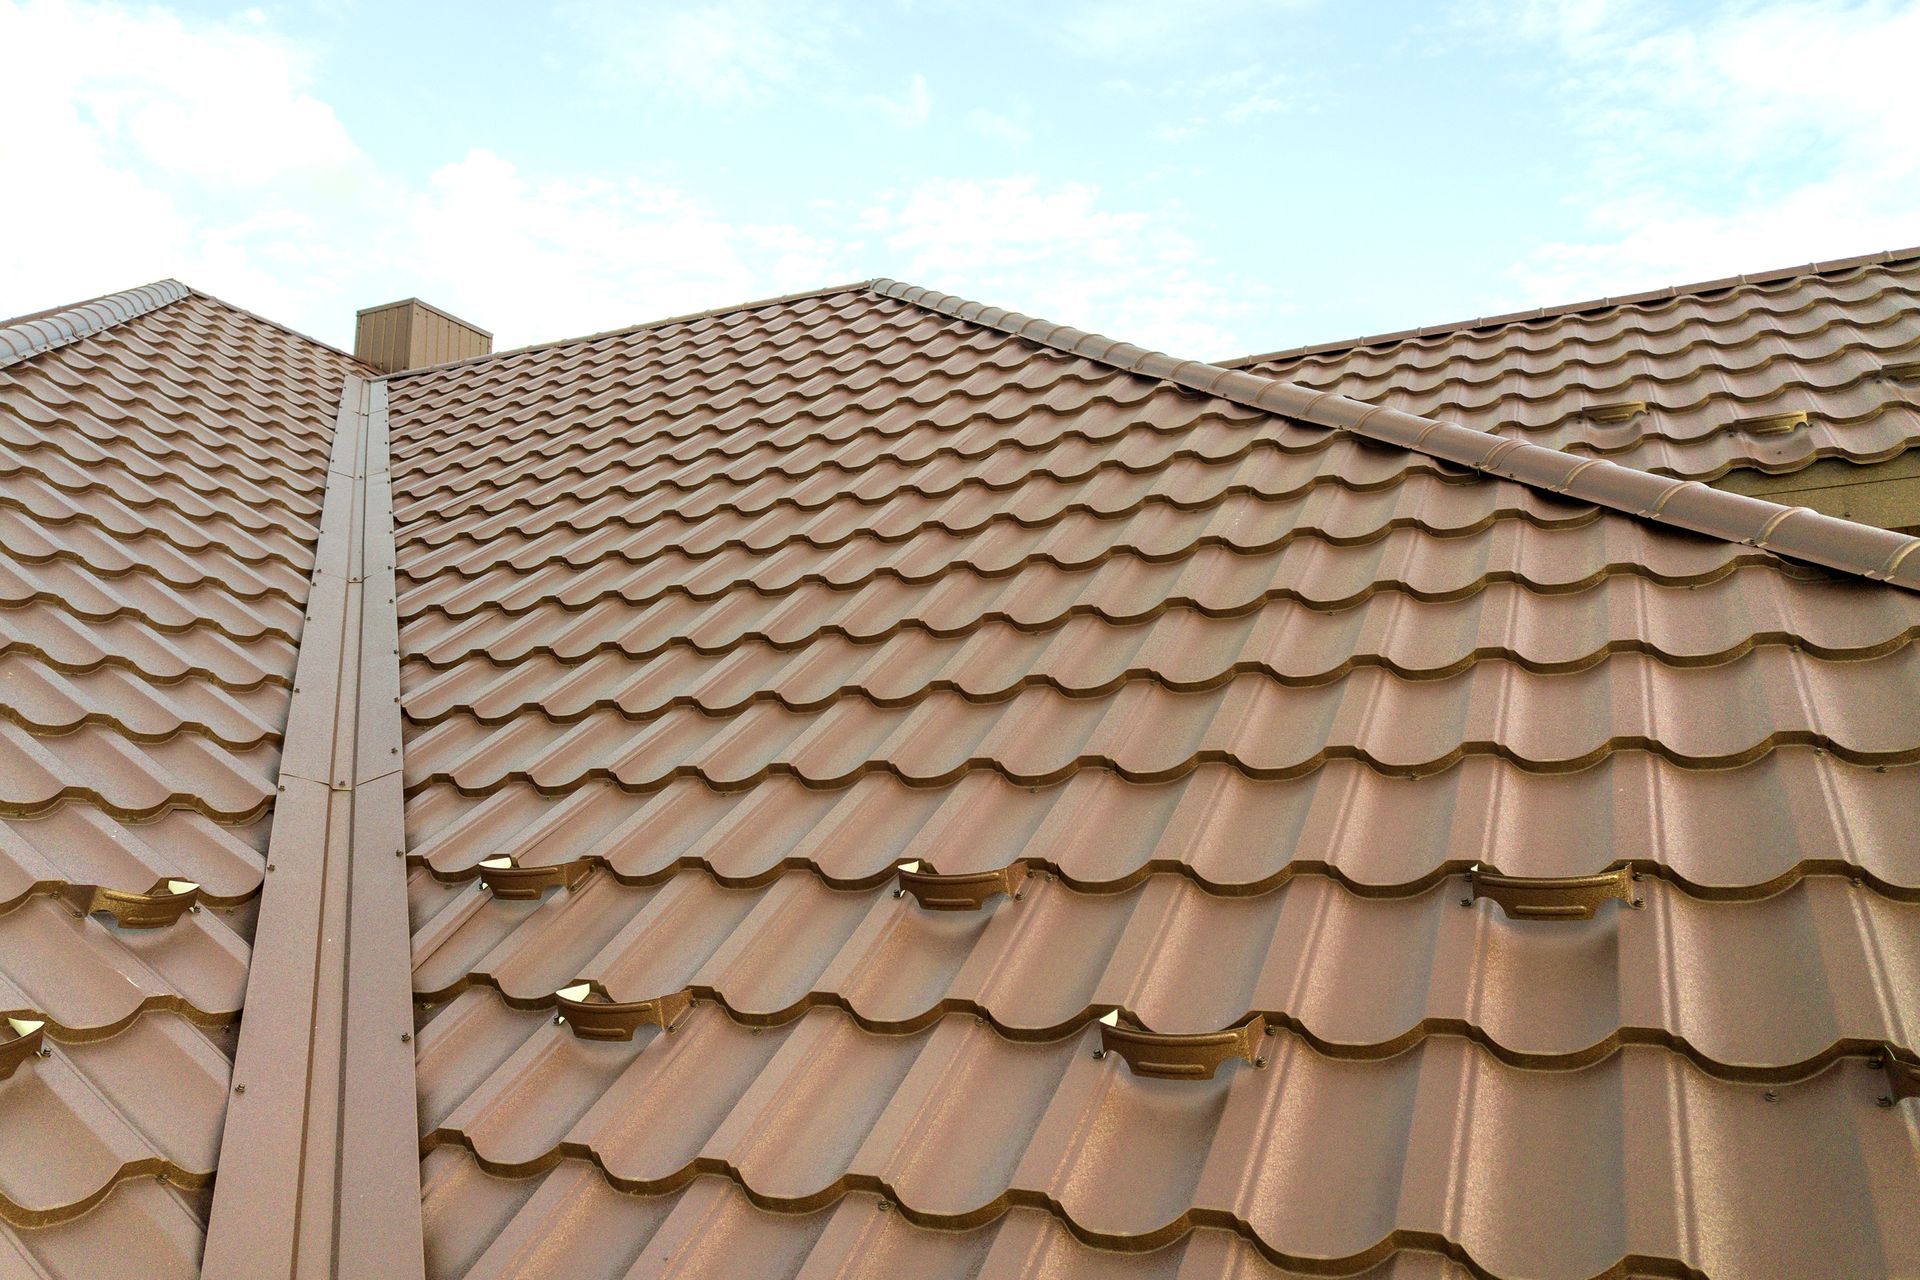
Roof flashing is a thin strip of metal, usually aluminum, galvanized steel, or copper, installed to direct water away from the seams and openings on your roof. Anywhere two roof planes meet, or anywhere something sticks out through the roof, flashing is what keeps water out.
The Job Flashing Does
The shingles on your roof handle water running down a flat slope. They cannot handle corners, transitions, or anything that interrupts that flow. Flashing fills the gap. It directs water around the obstacle and back onto the shingles below so it can keep moving toward the gutter.
When flashing works, you never see it doing its job. When it fails, the leak almost always shows up inside, often far from the actual failure point.
Common Flashing Materials
Different parts of the roof use different metals based on the job:
- Aluminum: The most common material on CT homes. Affordable, lightweight, and corrosion-resistant. Standard for step flashing, valleys, and basic transitions.
- Galvanized steel: Stronger than aluminum, used where impact resistance matters. Can rust over time once the coating wears.
- Copper: Premium material with the longest life. Often used on high-end homes, historic restorations, and chimneys.
- Lead: Sometimes used at chimneys for its formability, though less common in new CT construction now.
Where Flashing Is Installed on Your Roof
Every CT roof has flashing in several specific locations. Knowing where it lives helps you understand where leaks are most likely to start.
Chimneys
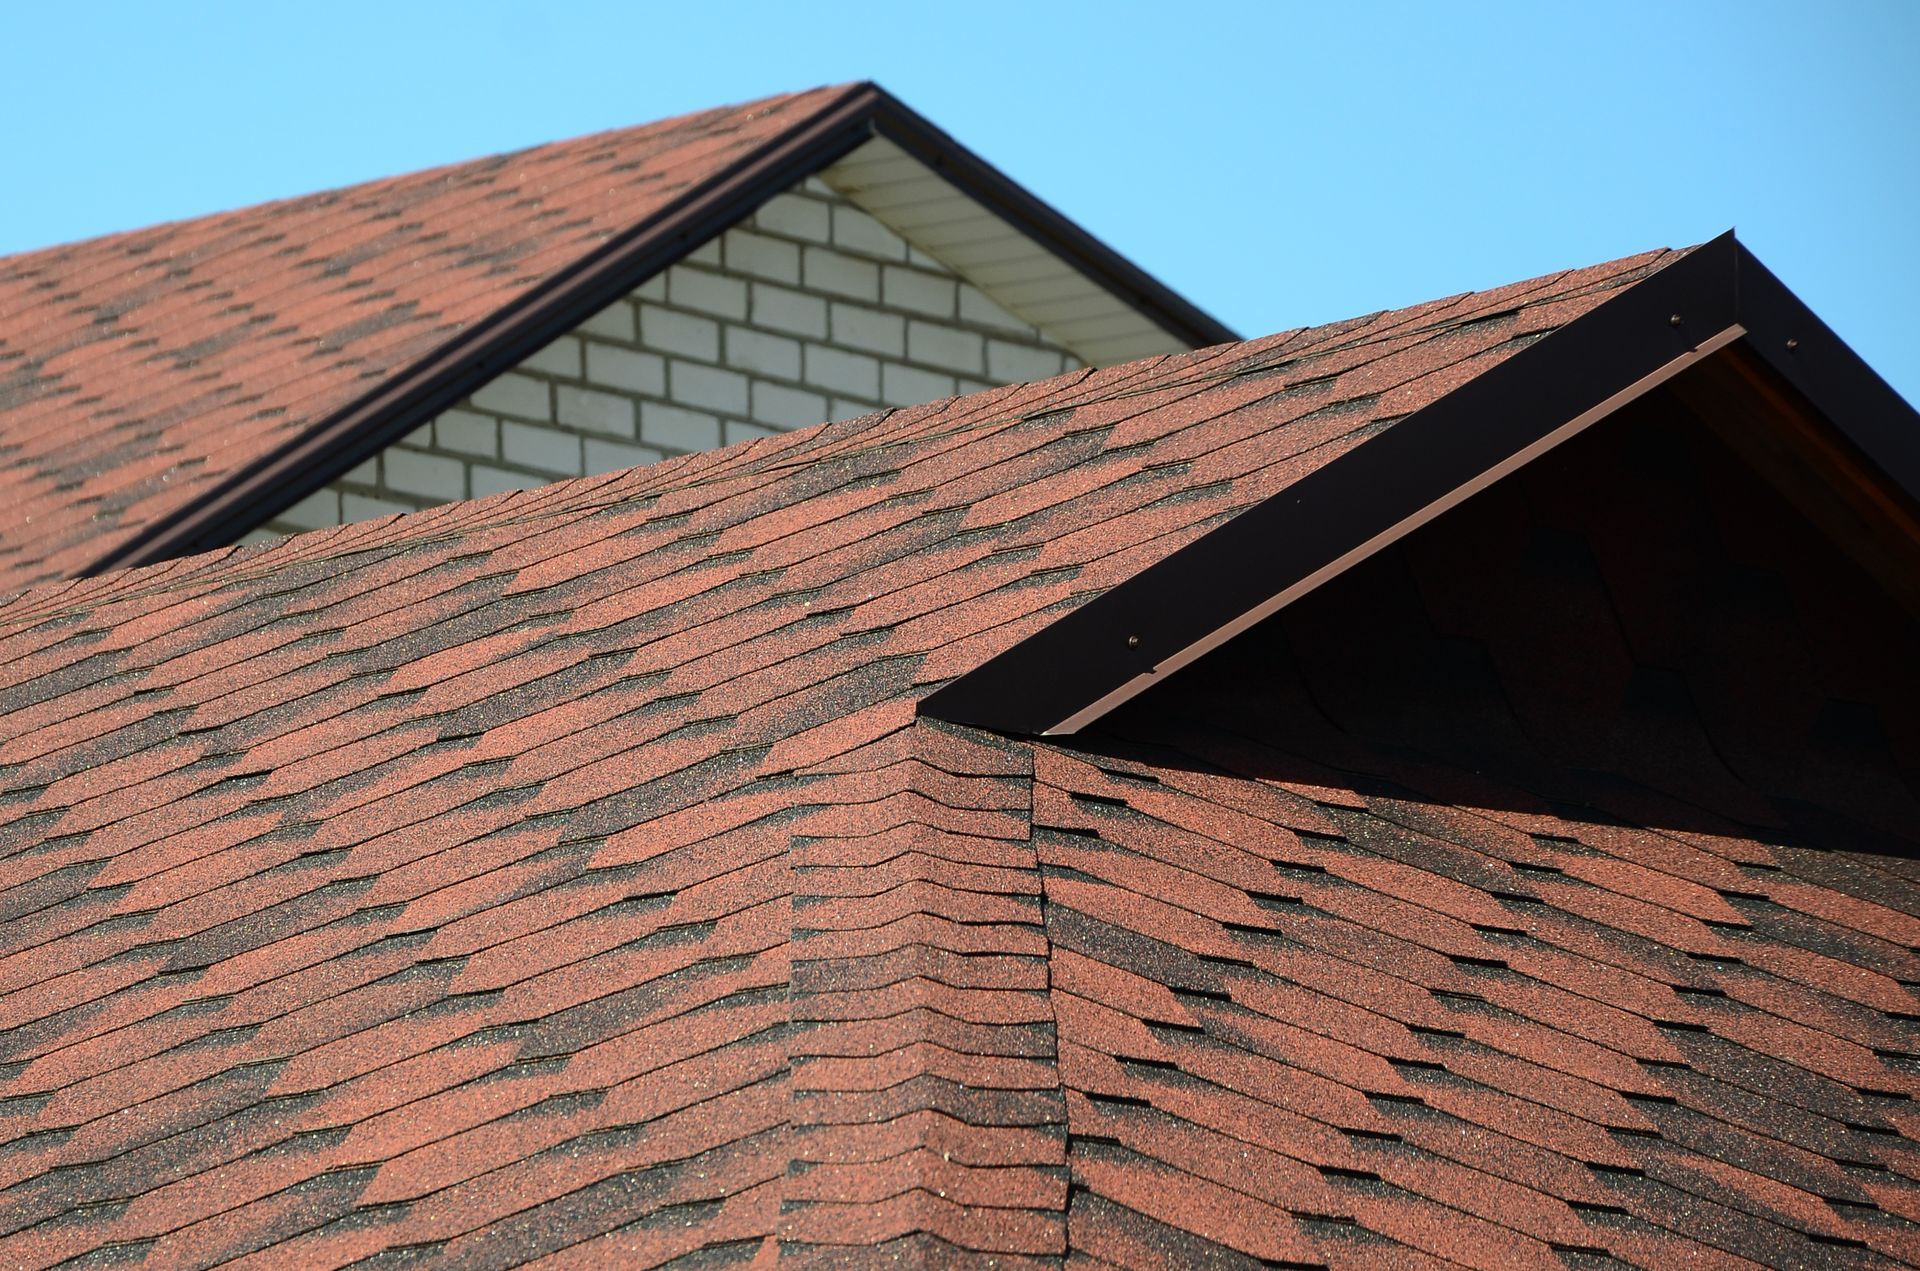
Chimney flashing is one of the most complex jobs on the roof. It involves step flashing along the sides, counter-flashing tucked into the mortar, and an apron at the front. CT freeze-thaw cycles are especially hard on chimney flashing because moisture works into the mortar joints and lifts the metal over time. If the masonry itself is failing, the fix may extend to chimney repair before the flashing can hold long-term.
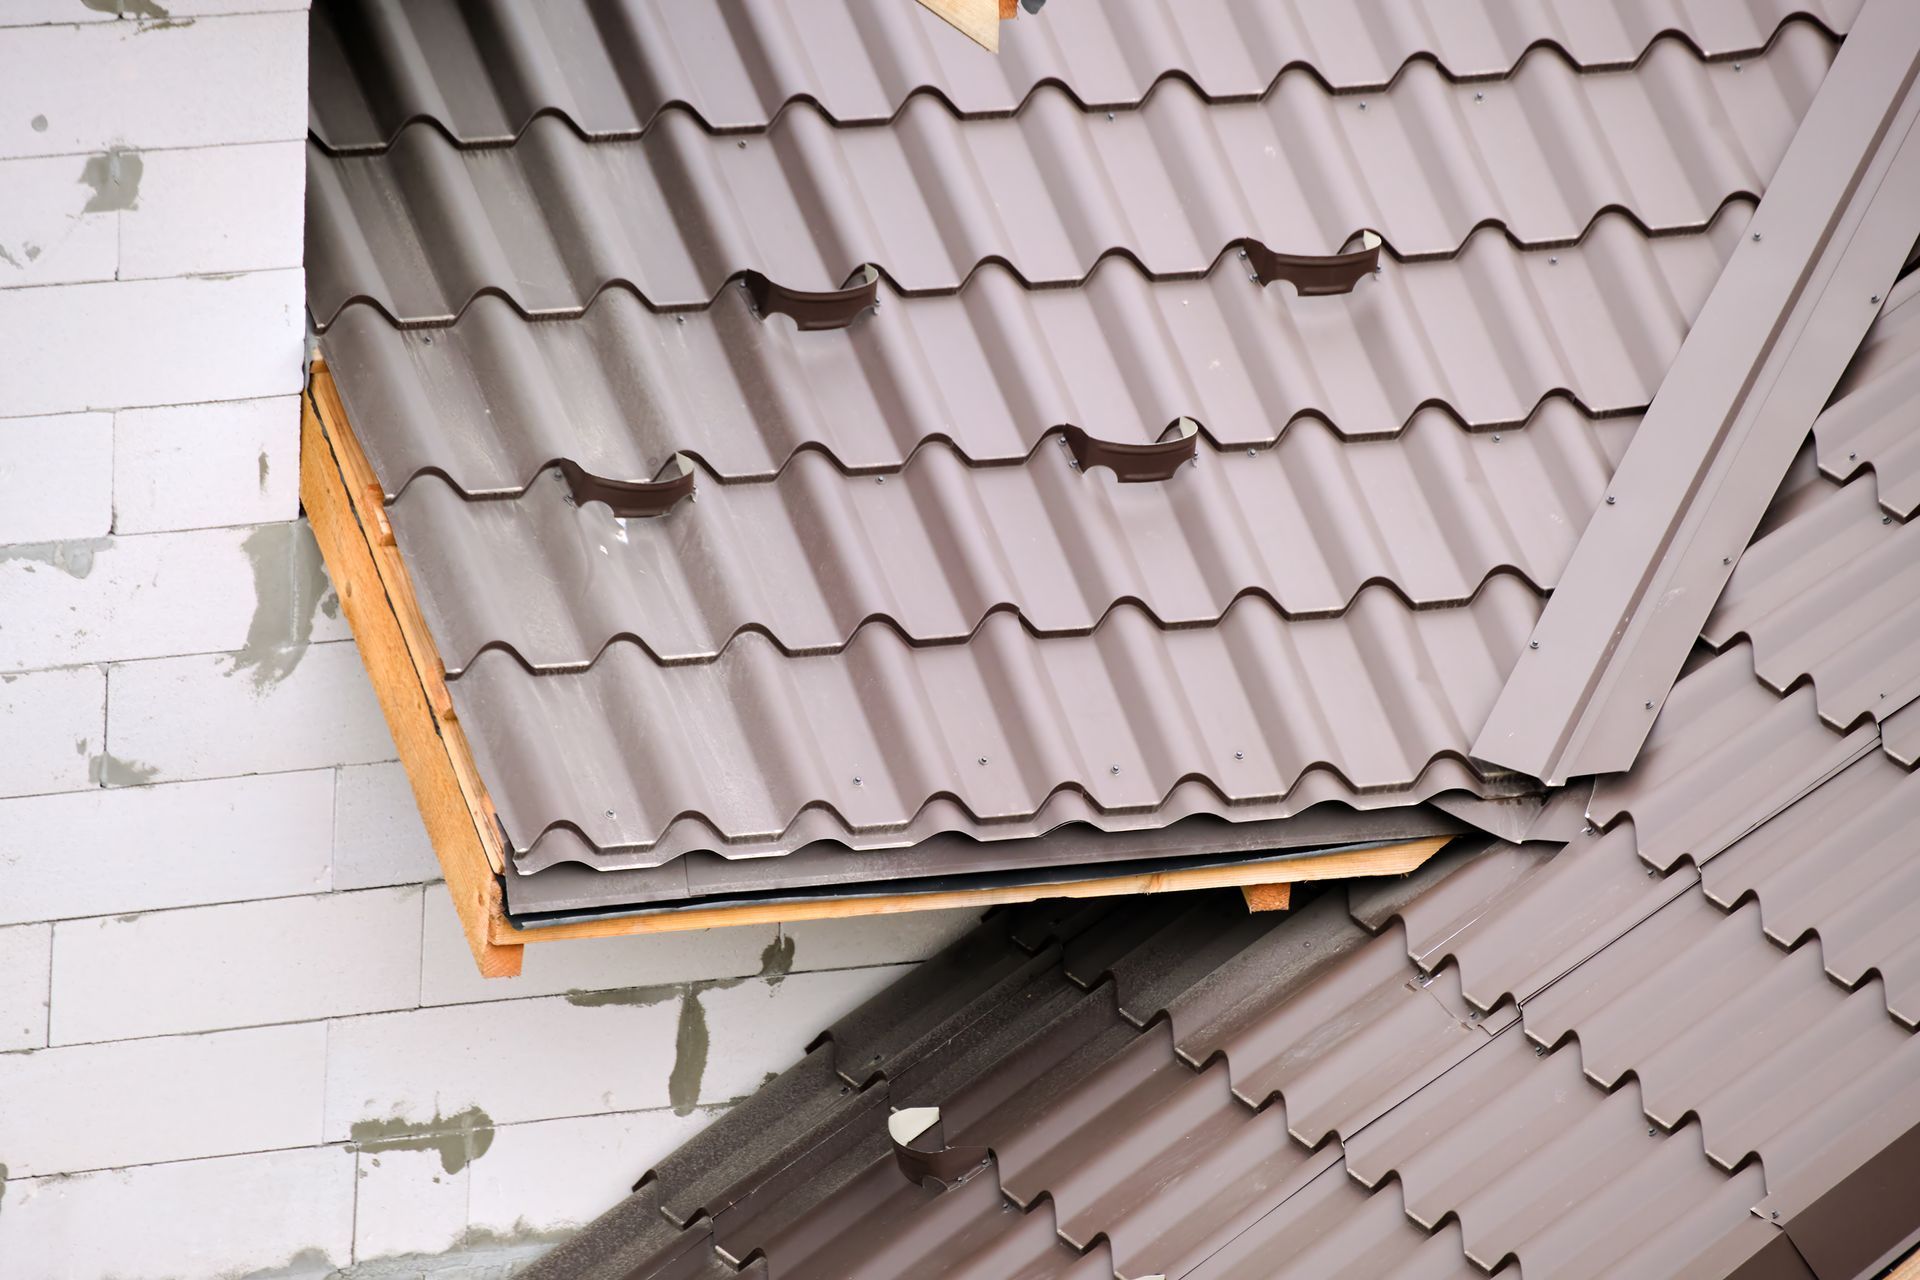
Skylights and Roof Vents
Skylights have flashing kits built into the frame. Vents and exhaust pipes use either metal flashing collars or rubber pipe boots. Both are common failure points after a few CT winters. For skylight-specific leak guidance, see our skylight leak repair guide.
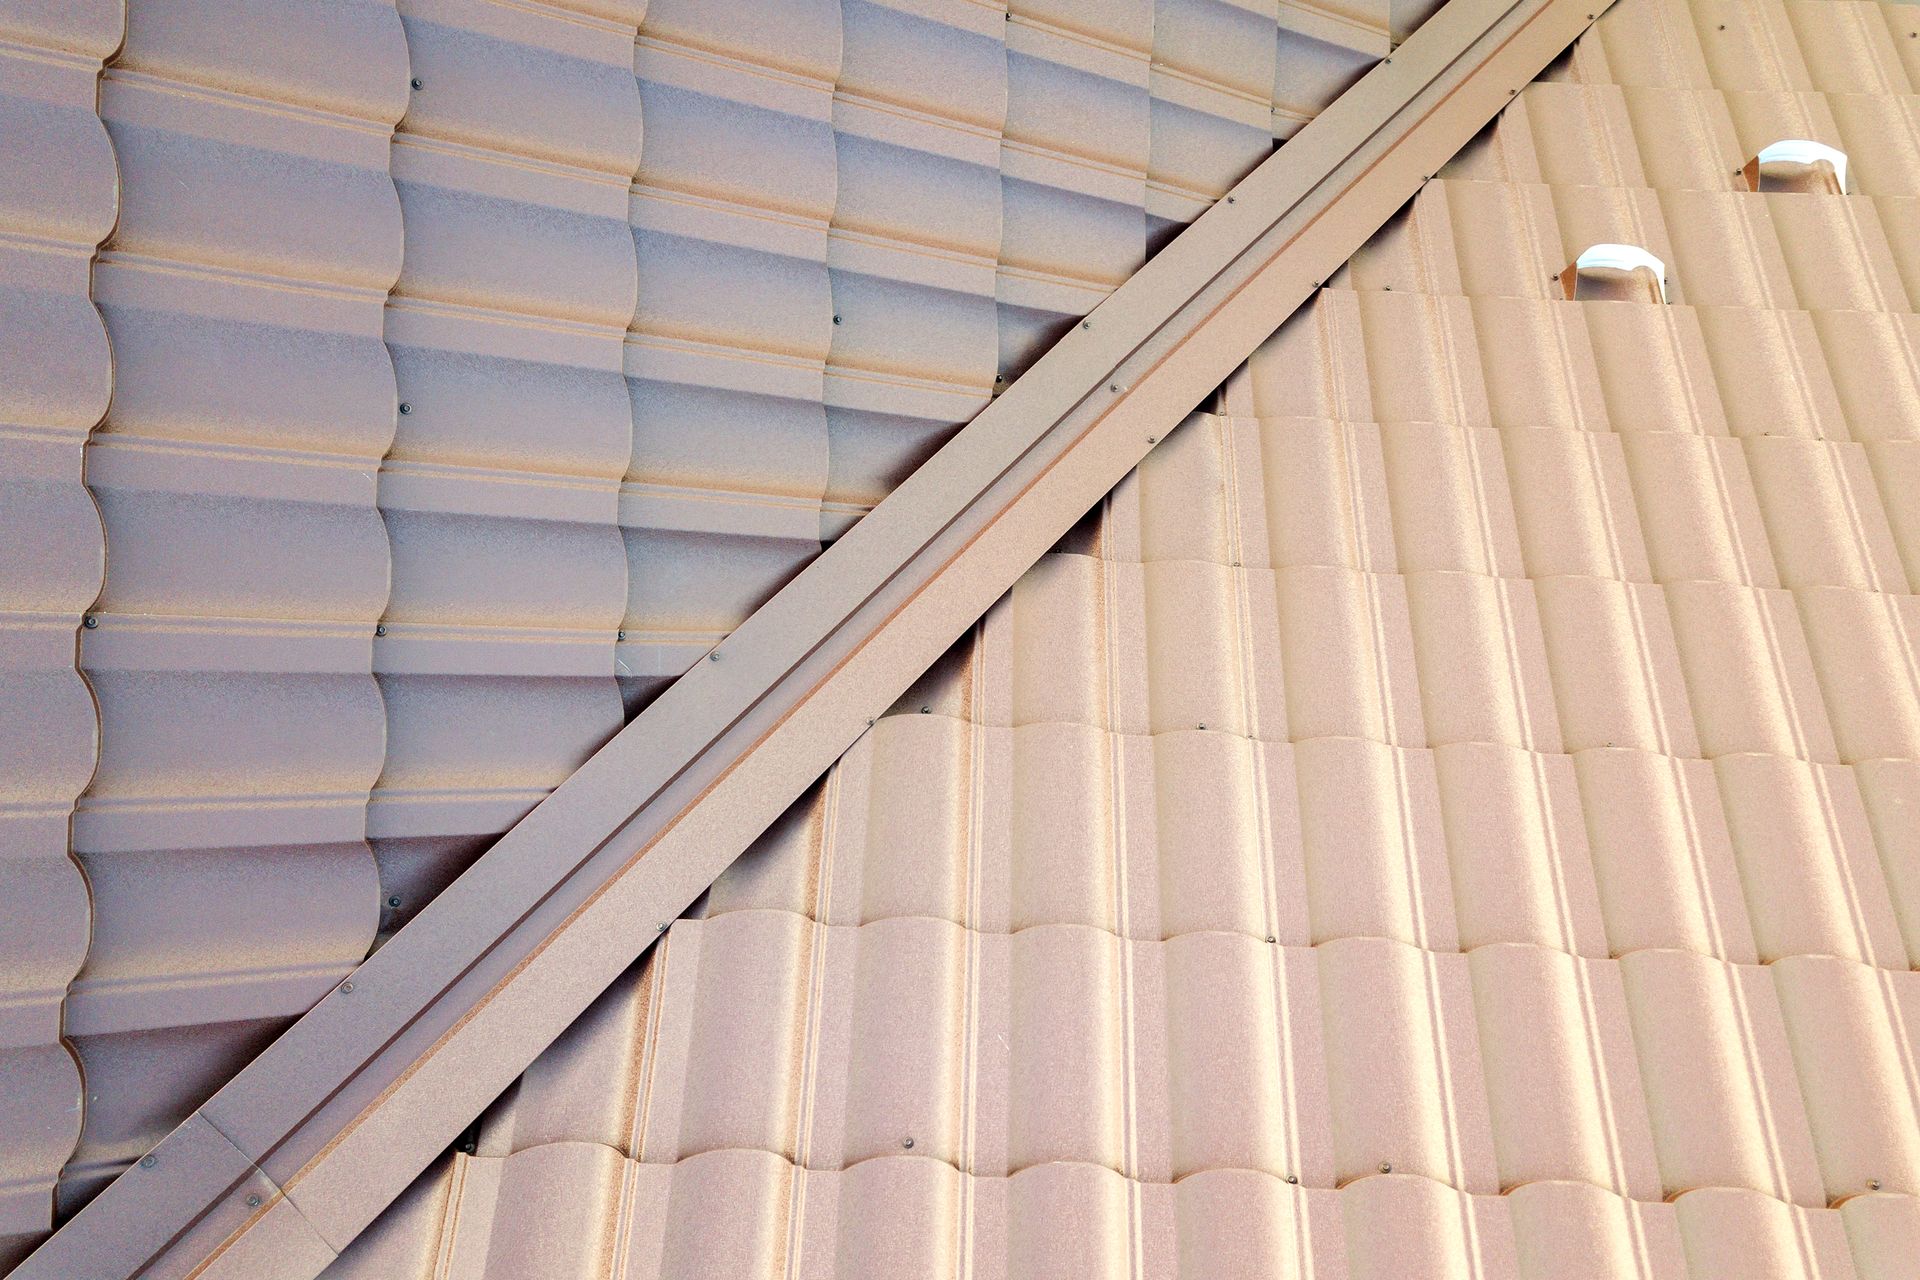
Roof Valleys
Where two roof slopes meet, you have a valley. Water concentrates there, so valleys need either open metal flashing or a closed valley with shingle weaving over woven underlayment. Open metal valleys handle CT snow loads and heavy spring rain better in most cases.
Roof-to-Wall Transitions
Where a roof meets a vertical wall, such as a dormer side, second-story addition, or attached garage, step flashing carries the water away. Counter-flashing or siding overlaps the top to seal the transition. These spots leak often when shortcuts were taken during the original install.
Drip Edge and Eaves
Drip edge runs along the bottom edges of the roof and directs water into the gutters instead of behind the fascia. It is required by most CT building codes on new roofs and is a small but critical piece of the flashing system.
Why Roof Flashing Fails in Connecticut
CT weather is hard on flashing in ways homeowners do not always see coming.
Freeze-Thaw Cycles
Water gets behind flashing seams during the day when snow melts, then freezes overnight. Ice expands, the metal lifts slightly, and the seam opens a little more each cycle. After a few seasons, a tight seal becomes a small gap that lets water in every storm.
Sealant and Caulk Aging
Many CT flashing repairs from prior contractors relied on caulk or roof sealant to bridge gaps. Caulk shrinks, cracks, and loses elasticity over five to ten years. Proper flashing should not depend on caulk to keep water out: sealant is a backup, not the primary defense. When the only thing holding flashing tight is caulk, the next failure is already coming.
Rust and Corrosion
Galvanized steel flashing eventually rusts where the coating wears off. Coastal CT homes deal with salt air, which speeds this up. Once rust gets through the metal, the flashing is no longer waterproof.
Storm and Ice Damage
High winds, heavy snow, and ice buildup at the eaves can physically bend, lift, or tear flashing loose. After a major storm, flashing is one of the first things a roofer should inspect. For broader storm damage signals, see our guide on how to check your roof for storm damage.
Poor Original Installation
A surprising number of flashing failures we see in CT trace back to shortcuts during the original install: missing step flashing, reused flashing on a new roof, undersized pieces, or caulk used in place of proper metal work. These problems are invisible from the ground but cause leaks for years.
Warning Signs You Should Not Ignore
Flashing problems rarely announce themselves with dramatic leaks at first. The early signs are subtle and often easy to miss until water damage shows up inside.
Watch for these red flags:
- Water stains on ceilings near chimneys, skylights, or exterior walls. Flashing leaks usually appear near the failure point, though water can travel along rafters before dripping.
- Visible rust streaks running down the roof or siding. This points to corroded metal flashing somewhere upslope.
- Cracked or missing caulk around chimneys, skylights, or vents. Caulk should not be your only seal, but cracks signal that flashing seams need attention.
- Lifted, bent, or missing flashing pieces. Often visible from the ground with binoculars after a windstorm.
- Damp or stained insulation in the attic. Active flashing leaks often show in the attic before they show on the ceiling.
- Peeling paint or wood rot on dormers, fascia, or exterior trim near roof edges. Water tracking down behind flashing damages the wood over time.
- Musty smell in the attic or upstairs rooms. Slow flashing leaks can fuel mold growth long before drips appear.
If you see any of these, do not wait. Small flashing leaks turn into expensive interior repairs, sheathing replacement, and mold remediation when they go unaddressed through a CT winter.
Repair vs. Replace: How to Decide
The right call depends on the location, the cause, and the age of the surrounding roof.
| Situation | Usually Repair | Usually Replace |
|---|---|---|
| Small section of lifted step flashing | ✓ | |
| One cracked rubber pipe boot | ✓ | |
| Caulk has failed but metal is sound | ✓ | |
| Chimney flashing has multiple gaps | ✓ | |
| Rust through the metal | ✓ | |
| Flashing is original to a 20+ year roof | ✓ | |
| Multiple leak points around one feature | ✓ | |
| Repair was already done and failed | ✓ | |
| Roof is being replaced anyway | ✓ |
When Repair Makes Sense
If the metal is in good shape, the failure is localized, and the rest of the roof has years of life left, a targeted repair fixes the problem. Common single-point repairs include re-sealing a pipe boot, replacing a corroded section of valley flashing, or re-bedding counter-flashing at one side of a chimney.
When Replacement Is the Smarter Call
If flashing is failing in multiple spots, the metal is rusted through, or the original install used the wrong techniques throughout, replacement saves money over time. Patching a system that was never installed correctly often just delays the next leak. When the roof itself is approaching end of life, it usually makes sense to bundle flashing replacement into a full roof replacement project. See our guide on
repair vs replacement in CT for the broader decision framework.
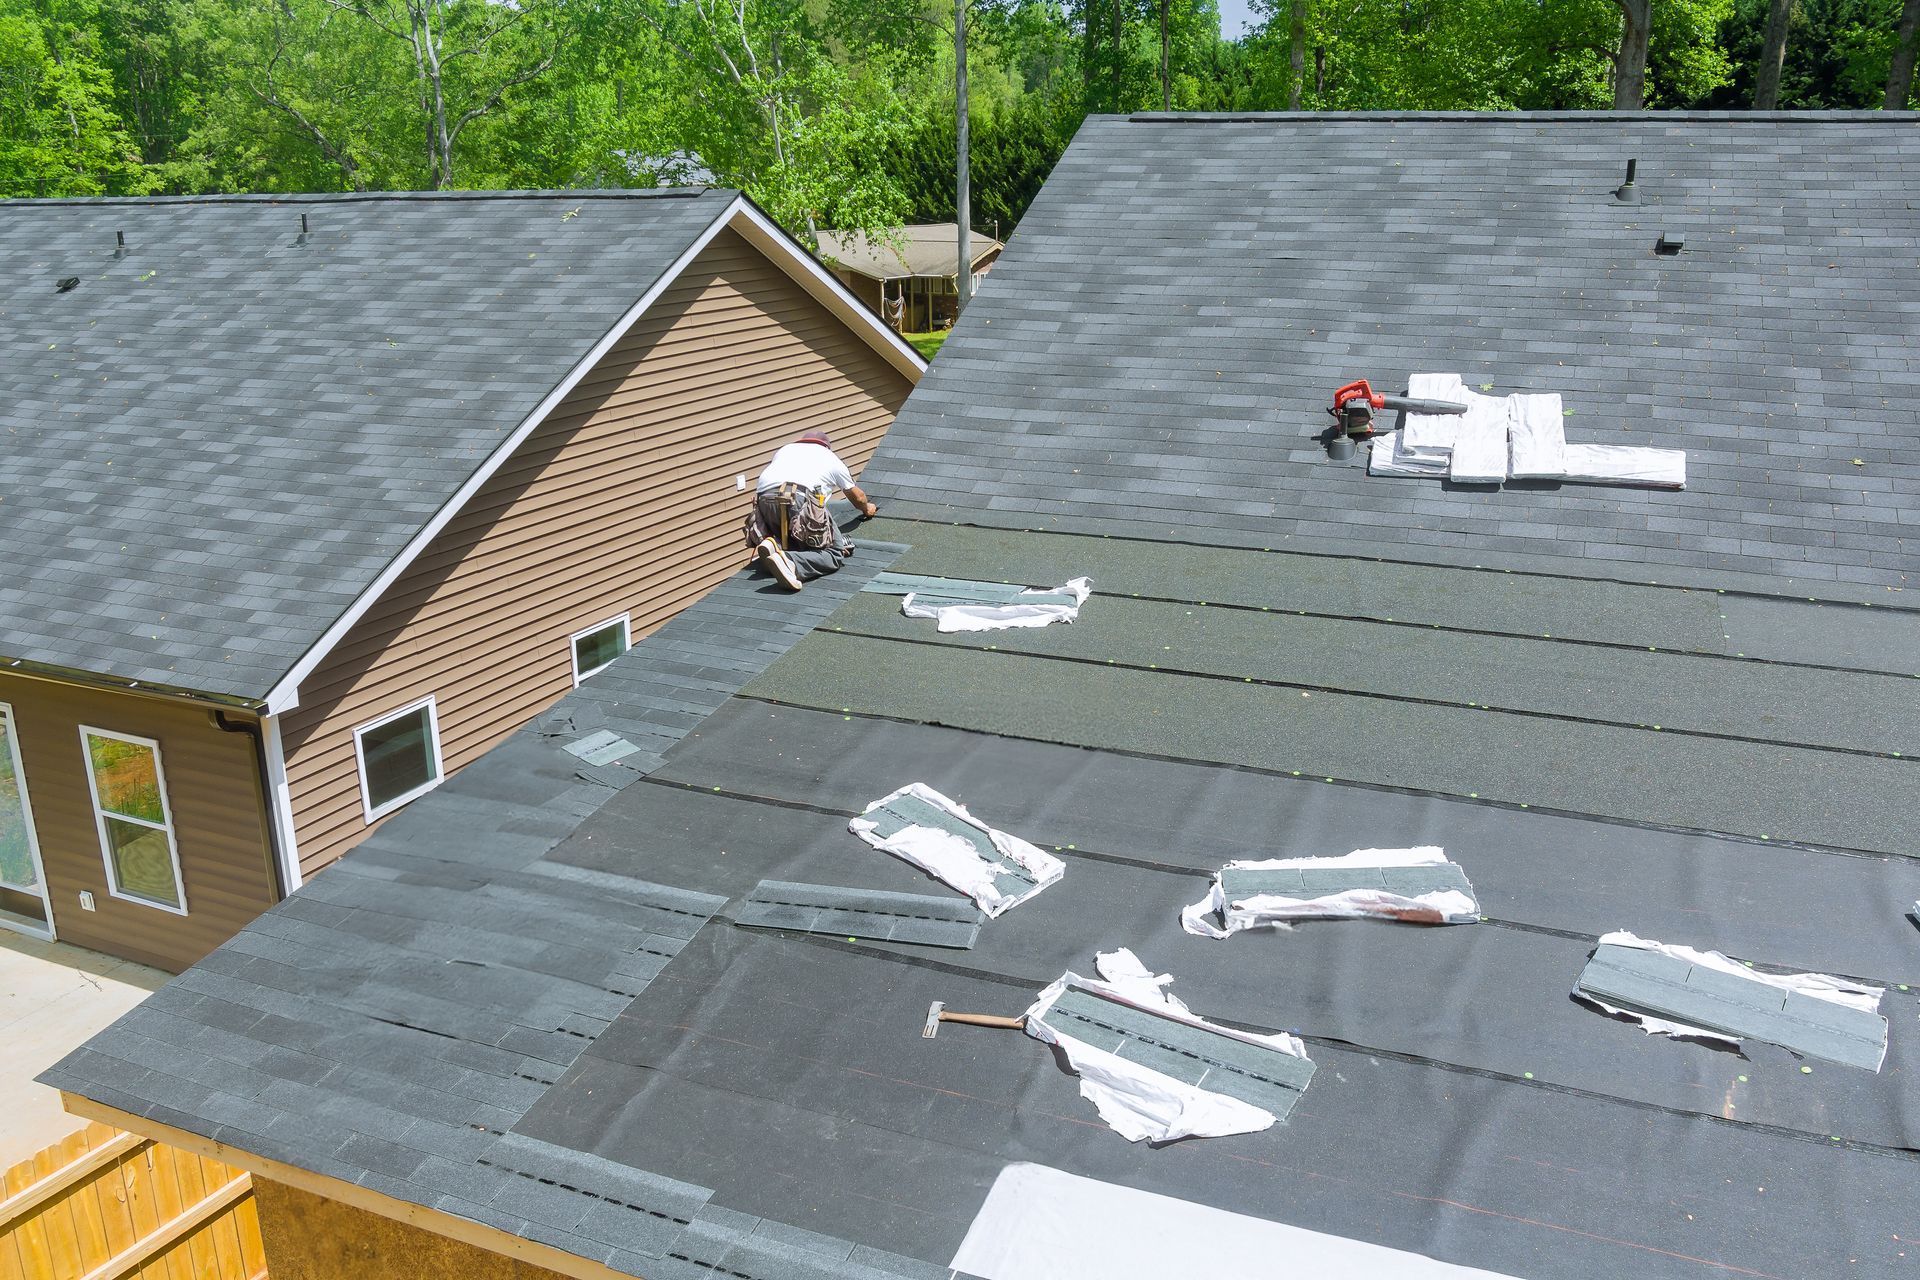
What to Expect From a Flashing Repair
A professional flashing repair on a CT home usually follows a predictable process.
The Inspection
A good roofer starts with a full visual inspection, not just at the leak point. Water often shows up far from where flashing actually failed. The inspector should check every flashing location, look at the attic for staining patterns, and trace the leak to its real source before quoting work.
Removing Damaged Flashing
Once the source is identified, the failed flashing is carefully removed. This involves lifting the surrounding shingles, prying out old sealant, and pulling counter-flashing out of mortar joints at chimneys. The decking underneath gets inspected for water damage.
Installing New Flashing
New metal is cut to fit, bent to the right angles, and woven back into the shingle courses. Step flashing is installed one piece per shingle course. Counter-flashing gets re-bedded into the chimney mortar with fresh sealant. Sealant is used as backup at seams, not as the primary defense.
Final Inspection and Cleanup
The roofer should hose-test the repair when conditions allow, clean up all debris, and walk you through what was done. Ask for photos before, during, and after.
What to Do If You Have an Active Flashing Leak
If water is actively coming in, you have two priorities: protect the inside of your home while help is on the way, and avoid making the problem worse.
Steps to Take Right Now
- Move belongings out of the drip path. Put down buckets, towels, and tarps. Pull furniture and electronics away from the wet area.
- Poke a small hole in any bulging ceiling. A swelling ceiling that holds water can collapse all at once. A small relief hole over a bucket controls the drain and limits damage.
- Photograph everything. Document the leak, the damage, and the location of the failure for your records and any potential insurance claim.
- Do not climb on the roof in bad weather. Wet shingles, ice, and high wind make roof work dangerous.
- Call a CT roofer for emergency service. Flashing leaks that are active need a tarp or temporary patch before the next storm.
When Temporary Tarping Helps
If a professional cannot get there for a few days, an emergency tarp protects the failure point from further intrusion. Tarps are a stopgap, not a fix. Our
emergency roof tarping guide covers when tarping is appropriate and what to expect.
What Flashing Repair Costs in Connecticut
Cost varies widely based on the location of the failure, how much surrounding work is needed, and the material being installed.
What Drives Flashing Repair Costs
The biggest cost factors:
- Location on the roof. Steep pitches, high roofs, and hard-to-access areas require more setup and safety equipment.
- How much shingle work is involved. Step flashing along a long wall requires lifting and resetting many shingle courses.
- Material choice. Copper costs more than aluminum, but lasts longer. Most CT homeowners stay with aluminum unless the design calls for copper.
- Whether other repairs are needed. Rotted sheathing or compromised insulation adds to the scope.
- Chimney work involvement. If the mortar joints also need attention, masonry work adds to the bill.
Getting an Accurate Quote
A trustworthy CT roofing contractor inspects the roof, identifies the actual source of the leak, and provides a written estimate with itemized scope. Be cautious of any quote given over the phone without an inspection, or any contractor pushing for full roof replacement when the only verified problem is flashing. For more on vetting contractors, see our guide on
how to choose a roofing contractor in CT.
How to Prevent Future Flashing Failures
You cannot stop flashing from wearing out, but you can extend its life and catch problems before they become leaks. Build these habits into your annual home care routine:
- Schedule a roof inspection every one to two years. A trained eye catches lifted flashing, cracked sealant, and rusted seams long before water finds them. Our spring roof inspection guide covers what to look for.
- Clean gutters at least twice a year. Clogged gutters back up water onto flashing edges.
- Check your attic after major storms. Look for new stains, damp insulation, or musty smells.
- Keep tree limbs trimmed back. Branches scrape flashing and drop debris into valleys and around chimneys.
- Address ice dams quickly. Ice damming concentrates water along the eaves and forces it under flashing. See our ice dam removal guide.
- Insist on quality during any roof work. When a roof is replaced, flashing should be replaced too. When a chimney is repointed, flashing should be re-bedded properly into the new mortar.
For a complete seasonal walkthrough, see our
asphalt roof maintenance checklist.
Frequently Asked Questions
How long does a typical roof replacement take in Connecticut?
Most residential roof replacements in Connecticut take one to three days. Smaller, simple roofs can be done in a single day, while larger homes, steep roofs, or roofs with multiple layers may take longer. Weather, hidden decking damage, and the size of the crew also affect the timeline.
Can a roof be replaced in the rain?
No. Reputable roofing contractors will not install a roof during rain. Moisture can get trapped under shingles or soak into the wood decking, which leads to mold, rot, and shortened roof life. If rain is in the forecast, your contractor should reschedule or pause the job and tarp the exposed sections to keep your home protected.
Is it cheaper to replace a roof in the off-season in Connecticut?
It can be. Late fall and early spring are slower times for most Connecticut roofers, which means more scheduling flexibility and sometimes better pricing. Peak summer demand often comes with firmer pricing and longer wait times. If you can plan ahead and book outside of June through August, you may save money and lock in a faster start date. For a deeper look at pricing, see our breakdown of roof replacement cost in CT.
Can I stay in my home during a roof replacement?
Yes. Most homeowners stay in their home during a roof replacement. The work happens outside, so the inside of your home stays usable. You should expect loud noise, vibration, and crew activity throughout the day, so people who work from home or have young children or pets may want to plan around the install. Move vehicles out of the driveway and cover anything fragile in the attic before work begins.
Should I repair my roof or replace it?
If your roof is under 15 years old and the damage is in one small area, a repair usually makes sense. If your roof is approaching 20 years, has multiple problem spots, or shows signs like sagging, widespread granule loss, or interior leaks, replacement is almost always the better long-term choice. A qualified roofing inspection can confirm which option fits your home. For a closer look at the trade-offs, see our guide on roof repair vs replacement in CT.
Share this Post
Recent Blog Post